Battle of the Big Blue (Map Marker)
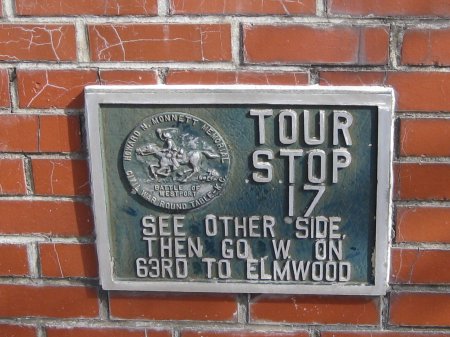
Tour Stop 17 [ Waypoint = N39 00.928 W94 31.555 ]
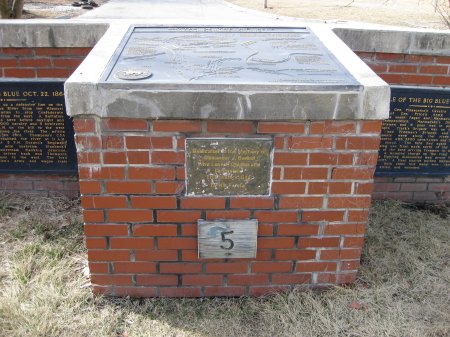
"Battle of the Big Blue October 22, 1864 - Union General Curtis set up a defensive line on the west side of the Big Blue River from the Missouri River upstream for 15 miles to stop Confederate General Price advancing from the east. A Battalion of Kansas Militia arrived here before daylight and Jennison's Brigade with 1000 cavalry and five howitzers was in position by 9 A.M. on the hill to the west with a skirmish line along the river. The militia felled trees to block the ford. Thompson's CSA Brigade of 2000 men reached the river at 11 A.M. and was stopped. At 3 P.M. Gordon's Regiment crossed the river one mile upstream. Slayback's Battalion crossed downstream flanking Jennison. His skirmishers were driven back and Thompson crossed driving Jennison to the west. The ford was cleared and Price's Army and wagon train crossed here.
Battle of the Big Blue October 23, 1864 - Union General Pleasonton's Cavalry Division, in the rear of General Price's Army, defeated Price's Divisions under Fagan and Marmaduke on the 22nd at Independence. Marmaduke's Division of 2500 calvarymen and six guns was in position here by daylight. Clark's brigade was on the hill to the west and Freeman's Brigade and 2 of Clark's Regiments were along the river. (see map) Pleasonton with 3500 cavalrymen and 3 guns attacked after sunup. The ford had again been blocked. Crossing was first made north of the ford and then south of the ford driving Freeman to the top of the cliff. A mounted charge up the road failed. After heavy fighting dismounted men drove Freeman from the cliff. A final charge pushed Marmaduke to the west. Both sides lost many men. The Union had 200 killed and wounded."
| Map |
Directions to Stop #17: Tour Stop 17 is straight ahead just across the rail road tracks. This tour stop is located in Kansas City, Missouri 64132.
 Description: At this stop there is an extensive map on the marker which shows how Marmaduke's Confederate Division and Pleasonton's Union Division were deployed at the Battle of Byram's Ford. The Byram's Ford Road followed this route and continued on up the hill to the west.
 A little after midnight on Sunday, October 23, 1864, General Pleasonton ordered Brigadier General John McNeil to take his Second Brigade down the Independence Road and then on to Little Santa Fe (Tour Stop 22) by daylight. He wanted to cut off the Confederate army's retreat. Then he ordered Brigadier General Egbert Brown to take the First Brigade down Byram's Ford Road and relieve Colonel Edward F. Winslow's Fourth Brigade. Pleasonton planned to coordinate his attack at Byram's Ford with Curtis' attack at daylight in Westport.
Brown got a late start and did not reach Byram's Ford until some two hours after daybreak. Not hearing the sounds of the attack he had ordered, Pleasonton raced to Byram's Ford to find out what had gone wrong. When he got there, Pleasonton immediately placed Brown under arrest and send him to the rear. Pleasonton then put Colonel John F. Philips in command of the Brown's First Brigade and ordered an immediate attack on Byram's Ford in cooperation with Winslow's Fourth Brigade. Winslow took charge of the attack with his Fourth Brigade along the river at Byram's Ford and coordinating the attack with Philips' First Brigade.
Winslow deployed the three guns of Battery H, Second Missouri Light Artillery and had them open up on the enemy positions across the river. He ordered the cavalrymen of the Fourth Brigade to dismount and move forward across Byram's Ford. The Confederate defenders on the west side opened fire and stalled the Federal advance. The 4th Iowa Cavalry was able to cross the river about 300 yards downstream (north) from the ford and get to the west bank. At this point they began firing at the Confederate defenders. Now Philips advanced the First Brigade across the river where they received terrific fire from the rebels.
As Winslow attempted to cross at Byram's Ford there was continuous firing from Marmaduke's advance defense line. Philips now moved his brigade across the river where they received terrific fire from the rebels. Once across they quickly drove Marmaduke's advance lines back. In front of them was about 900 yards of open field at the end of which was a rocky ledge that was 15-20 feet high.
Philips ordered his men to mount and advance towards the rocky ledge, but the horses could not get up the steep slope of the ledge. The only approach was up the relatively narrow Byram's Ford Road which made them vulnerable to enemy fire. They tried this twice and both times were drive back by terrific enemy fire.
Winslow brought up his dismounted Fourth Brigade into the open field on the right in front of the rocky ledge. Philips Brigade remained to the left near Byram's Ford Road. It was approaching 11:00 AM and the fierce fighting continued. Once again the Federals charged the rocky ledge but were driven back. The dismounted cavalrymen from the First and Fourth brigades made another charge against the rocky ledge . This time they were successful and were able to push the Confederate defenders back up into the wooded crest of the hill where Marmaduke's main defensive line was positioned (Tour Stop 17A and Tour Stop 17B).
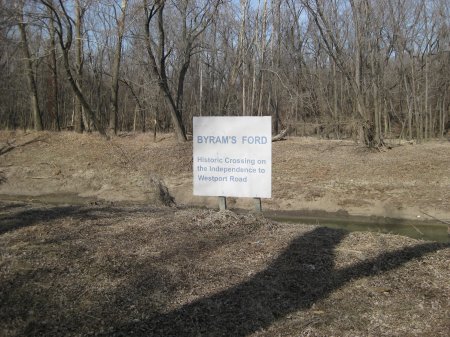
Optional Tour Stop: Byram's Ford
| Map | Waypoint = N38 59.984 W94 34.150 |
Directions: Continue on Manchester Trafficway and turn right (east) onto 60th Street. Continue on due east for about a quarter of a mile. You should see a concrete marker for the Byram's Ford National Historic District. There is a foot path (following the route of Byram's Ford Road) to the east that will take you down to a place near the location in 1864 of Byram's Ford on the Big Blue River. There is also a separate walking tour of the Byram's Ford Battlefield.


Back: Battle of Westport: Byram's Ford Battlefield
Next: Battle of Westport: Log House and Defense Line
