Plummer's Attack and Repulse
Tour Stop
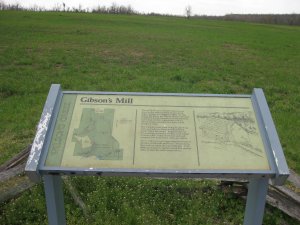 Location: The best way to experience this part of the tour is to drive to WCNB Tour Stop 1 [ Waypoint = N37 06.923 W93 24.333 ] and then proceed to the points of interest on foot. Starting from the WCNB tour stop's Interpretive Sign, start down the walking trail towards Gibson's Mill. Along the way you will pass several things of historical interest on your way to the location where Plummer's Battalion crossed Wilson's Creek.
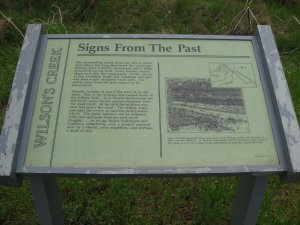
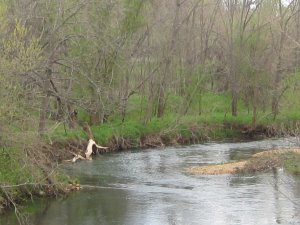
About one third of a mile from the parking area you will come to an interpretive sign that brings your attention to the remnants of the Gibson Mill Head Race [ Waypoint = N37 06.763 W93 24.514 ]. John Gibson constructed this head race to channel the current from Wilson's creek to his mill. You can also see additional remnants of the head race [ Waypoint = N37 07.020 W93 24.398 ] from the north bridge on the WCNB Tour Loop Road that crosses Wilson's Creek. Look about 100 yards north of the bridge on the west side of Wilson's Creek for a faint ditch a few yards away from the creek bed.
 |
 |
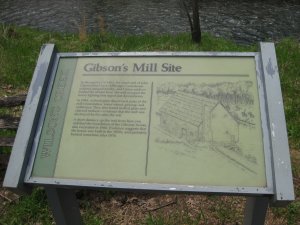
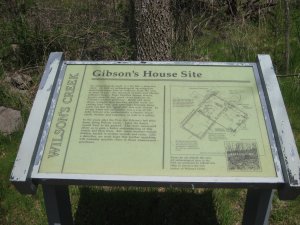
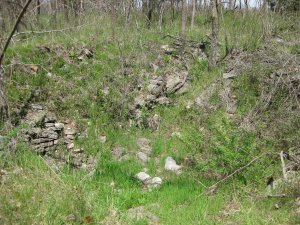
Continue down the walking trail for another tenth of a mile until you come to the interpretive sign for the Gibson's Mill Site [ Waypoint = N37 06.694 W93 24.465 ]. You can loop back ab out one tenth of a mile to have a look at the remains of the Gibson House [ Waypoint = N37 06.764 W93 24.464 ].
 |
|
 |
 |
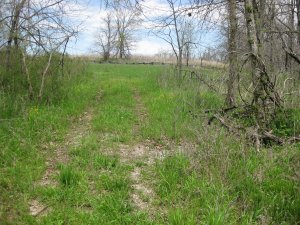
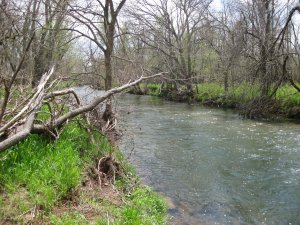 From the Gibson's Mil Site, continue south down the walking trail for another tenth of a mile. There is no marker, but near here is where Plummer's Battalion crossed to the east side of Wilson's Creek [ Waypoint = N37 06.618 W93 24.425 ]. Up the hill from the creek, you should be able to see the fence row for the western edge of the Ray Corn Field. Plummer would lead his battalion through this corn field, advancing southeast towards the position of the Pulaski Light Battery.
 |
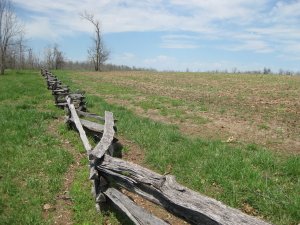 |
If you continue following the WCNB walking trail and bear left at the fork you will wind up in the middle of the Ray Corn Field. If you continue to follow the trail as it turns north, you will be walking through the middle of the Rays Corn Field. This walking trail eventually joins back up with the WCNB Tour Loop Road and you can walk back to the parking area.
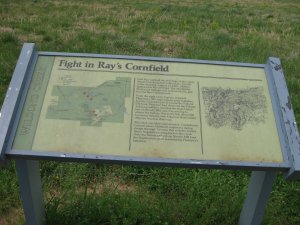
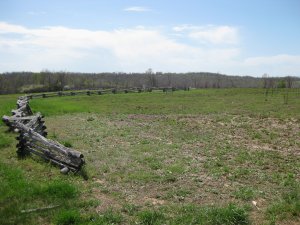
To see where the fighting took place, you will have to walk across to the southern end of the corn field [ Waypoint = N37 06.458 W93 24.082 ]. Another way to get to this spot would be to drive to the Ray House (WCNB Tour Stop 2) parking area and walk down to the Ray Springhouse. From the springhouse, walk up the hill to the fence row and you are near the spot where Plummer's Battalion was repulsed and driven north back to Gibson's Mill.
 |
 |
Description: Captain Joseph B. Plummer commanded the infantry battalion of US Regulars in Major Samuel Sturgis' First Brigade. His battalion had been in the lead as Lyon approached the battlefield around dawn and took up their position on the Union left (eastern) flank as the Federals pushed the Confederate defenders off of Bloody Hill. Once on top of Bloody Hill, Lyon could see additional Confederate encampments on the eastern side of Wilson's Creek. Around 6:00 A.M., He ordered Plummer to cross over to the east side of the creek and press the attack on the Union left flank.
During the night, Confederate Captain William E. Woodruff, Jr. had deployed his Pulaski Light Battery ( two Six Pounder Smooth Bore Guns and two Twelve-Pounder Smooth Bore Howitzers) on a small hill [ Waypoint = N37 06.316 W93 24.064 ] just north and east of McCulloch's headquarters at the Winn Farm. Sometime between 5:00 and 6:00 A.M., Woodruff, seeing the Federals moving forward, had ordered his battery to open fire on their positions. The Federal batteries replied and the opposing batteries dueled for the better part of an hour. Woodruff's quick action against the Federals atop Bloody Hill probably stalled their advance and gave the Confederates time to deploy their forces against the advancing Federals.
Plummer was slowed down by swampy ground caused by Gibson's damming of Wilson's Creek for his mill, but Plummer's force was able to cross the creek about one tenth of a mile south of Gibson's Mill. After crossing Wilson's Creek, Plummer's main objective was to silence the Pulaski Light Battery. By 6:30 A.M., Plummer's men entered the northern end of Ray's Cornfield. Plummer's Battalion had fallen behind the Federal advance and were struggling to move forward uphill through the corn field.
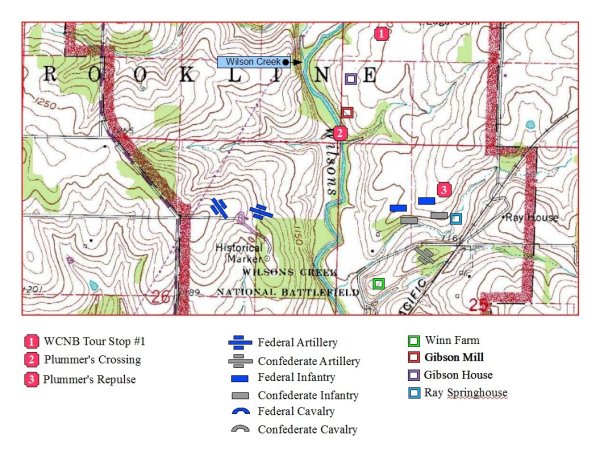
Confederate Captain Woodruff saw the advance of the Federals commanded by Captain Plummer and sent word back to Brigadier General McCulloch. McCulloch ordered Colonel James McIntosh, commanding the Second Arkansas Mounted Rifles, and Colonel Louis Hebert, commanding the Third Louisiana Infantry, to move in support of Woodruff and the Pulaski Light Battery. The Confederates moved up the Wire Road toward the Ray House, down past the Ray Spring House, and then up the hill towards the fence row along the south end of the Ray corn field.
The Confederates reached the end of the corn field just at the same time the Federals did. Both sides opened fire. The Confederates were more protected behind the fence row and used it to their advantage. As the Confederates continued to deploy their forces into the attack, they began to extend around Plummer's left flank. McIntosh ordered the Confederates to charge forward. Outnumbered three to one, Plummer ordered his battalion to withdraw before he was overwhelmed. The Federals were able to retreat across Wilson's Creek and ended up in the Union rear on the north side of Bloody Hill.
Confederate Colonel McIntosh moved his forces north past Gibson's Mill and was in a position to flank the Union position on Bloody Hill. However, Union Lieutenant John V. Du Bois noticed Plummer's withdrawal and directed his battery to open fire on the advancing Confederates. The Confederates were forced to withdraw back to the southern end of the Ray corn field.
Captain Plummer wrote in his official report:
"We were materially aided in extricating ourselves by the timely aid of Du Bois' battery, which beat back the advance of the enemy with much slaughter."
Lieutenant Du Bois wrote in his official report:
"After assisting Captain Totten to silence the enemy's batteries, in which we perfectly succeeded, I received orders from General Lyon to move my battery to the right. Captain Granger was to place me in position. While limbering, our left flank, which consisted of three companies of the First Infantry and one of Mounted Rifle recruits, was driven back by an overwhelming force of the enemy (five regiments, I think), who, in the order of an advance, ha collected in masses. Captain Granger now countermanded my order to move, and by a change of front to the left I enfiladed their line and drove them back with great slaughter, Captain Granger directing one of my guns. Their broken troops rallied behind a house on the right of their line. I struck this house twice with a 12-pounder shot, when they showed a hospital flag. I ceased firing, and their troops retired."
