The Battle of Black Jack Self-Guided Tour
Tour Stop
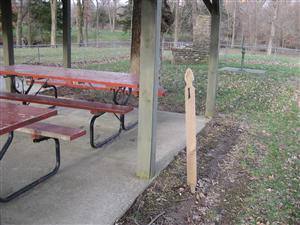
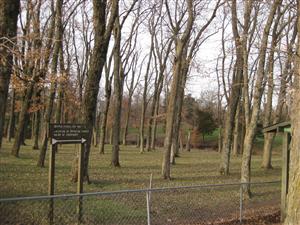
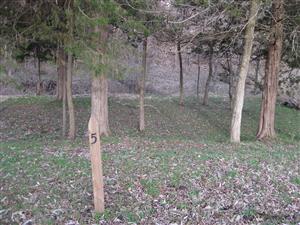
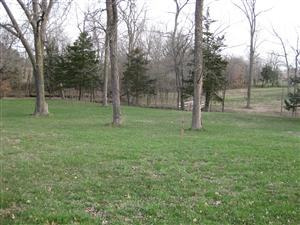
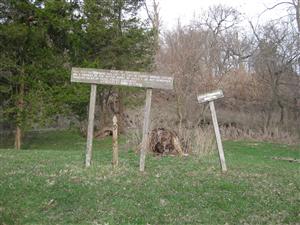
This tour was created by The Black Jack Battlefield Trust and begins within the fenced in picnic area. Make sure you grab one of the tour brochures in the covered picnic area. Each stop is marked by a numbered wooden stake.
Self-Guided Tour Stop #1 – Robert Hall Pearson Memorial Park [ Waypoint N38 45.833 W95 07.850 ]: Robert Hall Pearson lived in the area and joined John Brown's band to fight against the pro-slavery men led by Henry Clay Pate. He would later purchase the land that included the battlefield and build the house that stands up the hill from the battlefield.
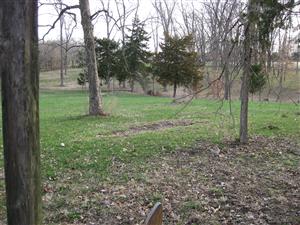
Self-Guided Tour Stop #2 – Sugar Maple Grove [ Waypoint N38 45.826 W95 07.848 ]: This stop is just to the left (south) of the fenced in picnic area. This stop has little to do with the fighting that took place in 1856, but is a stand of sugar maple trees planted by Pearson after he purchased this land.
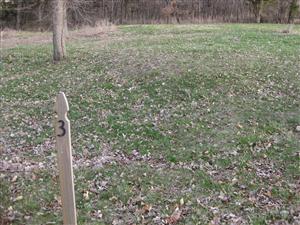
Self-Guided Tour Stop #3 – Wagon Ruts [ Waypoint N38 45.822 W95 07.873 ]: Follow the path a few yards down the hill. The Santa Fe Trail passed through here and you can see the remains of the ruts cut by the many wagons that passed this way. Walk due north from the stake to the ruts and then follow them down the hill to where they crossed Captains Creek.
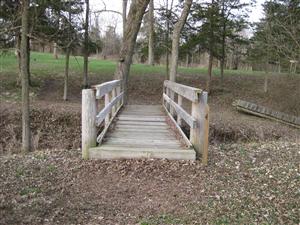
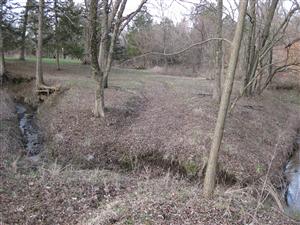
Self-Guided Tour Stop #5 – John Brown's Position [ Waypoint N38 45.804 W95 07.925 ]: Walk up the hill to the right, past the #9 stake and you will reach the position that John Brown's men took along the west branch of Captains Creek. Look due east and you should be able to pick out the marker for Pate's position about 50 yards due east from where you are standing. This spot was a strong position that provided a lot of natural cover. Walk down the hill towards the creek and look back towards Pate's position. The sharp drop provided protection to Brown's men from the fire by Pate's men.
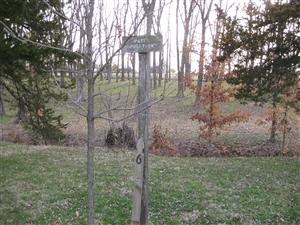
Self-Guided Tour Stop #6 – Pate's Position [ Waypoint N38 45.799 W95 07.894 ]: Walk across the battlefield to this tour stop. Pate and his band of about 75 Shannon's Sharpshooters were camped on the east side of Captains Creek while they raided free-state settlements. When attacked by Brown's force, they began fighting from a position east of the creek before moving down to this position along the creek.
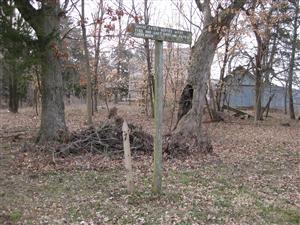
Self-Guided Tour Stop #8 – Frederick Brown's Ruse [ Waypoint N38 45.799 W95 07.905 ]: Walk down the hill towards the center of the open area of the battlefield to stop number 8. After a few hours of fighting both sides were running low on ammunition. Lack of ammunition forced many of the free-state men to withdraw from the battlefield. Brown was down to about 12 men. John Brown's son, Frederick, grabbed a horse an rode around to the south of Pate's position yelling, “Father, we have got them surrounded, and have cut off their communications.” The deception worked, for shortly thereafter, Pate decided to call for a truce.

Back: The Black Jack Battlefield
Next: The Pottawatomie Massacre

